Week 14. Molding and Casting
Using openly available 3D data for Helsinki, I set out to make an ice version of a neighborhood.
Side track, 3D print
The 3d files that are downloadable from the city have come with separate terrain and buildings. I did some work in Blender to combine and prep these files, but I'm not fully satisfied with that workflow.
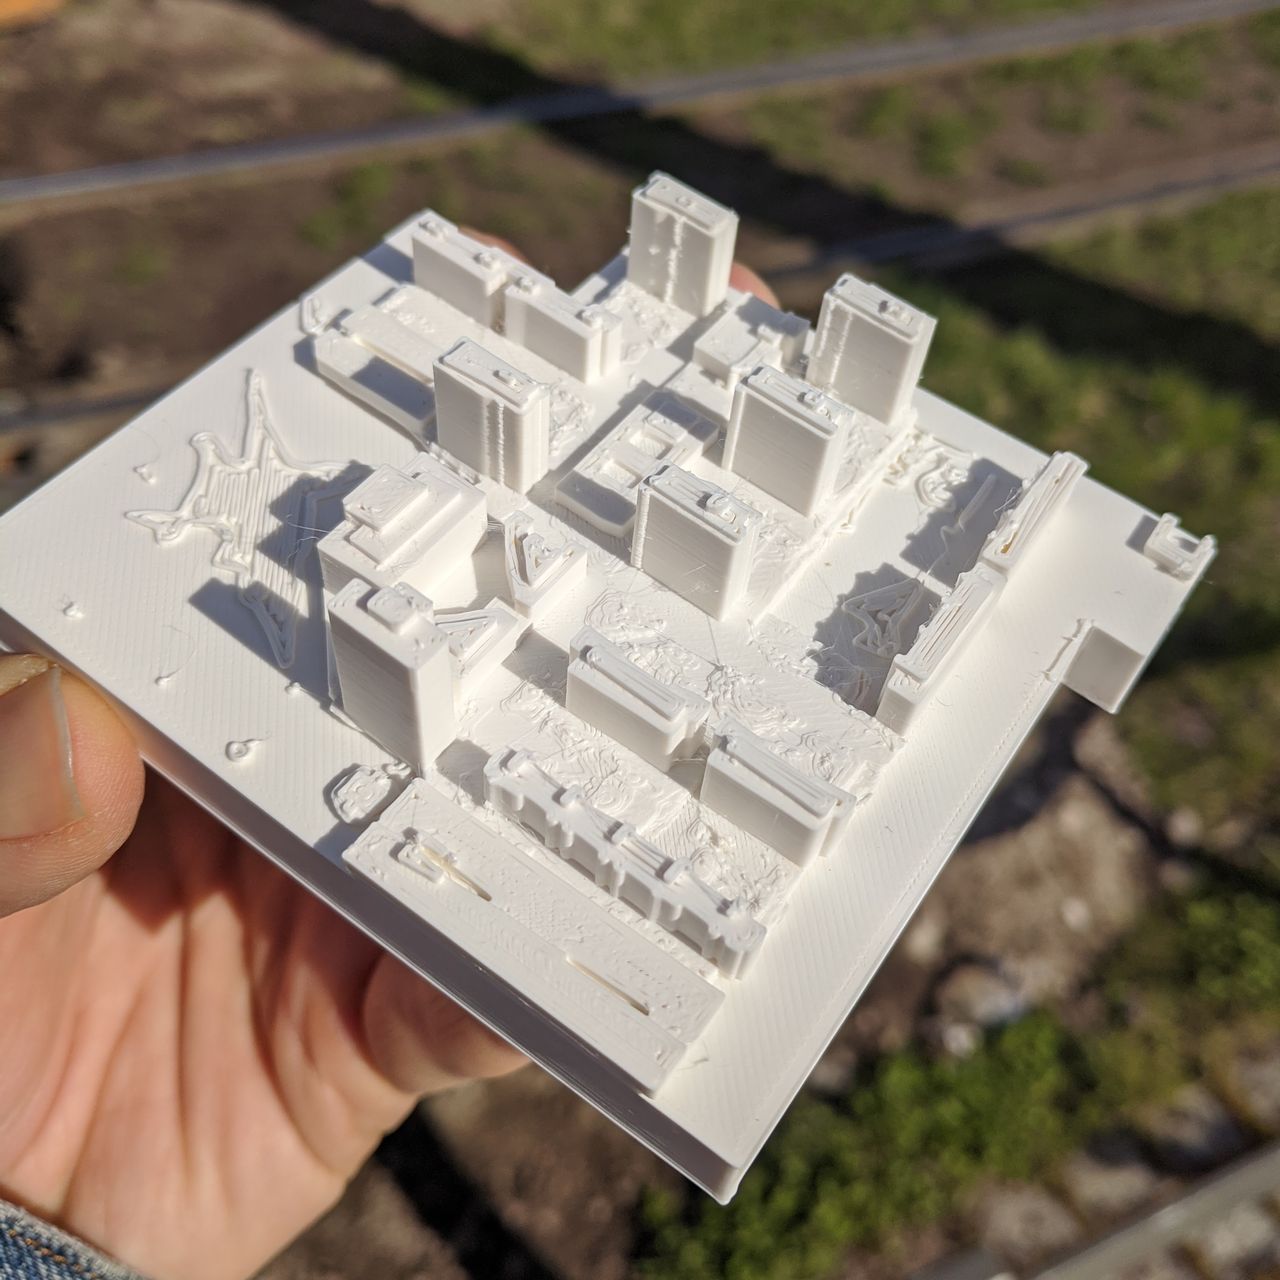
Using the same model, I started a 3d print at the same scale, to be able to compare the process.
This was inspired in part by Fab Lab Ísafjörður's Days of darkness project. I really like the concept of simulating the sun's path on a miniature model of buildings and terrain.
Mold making
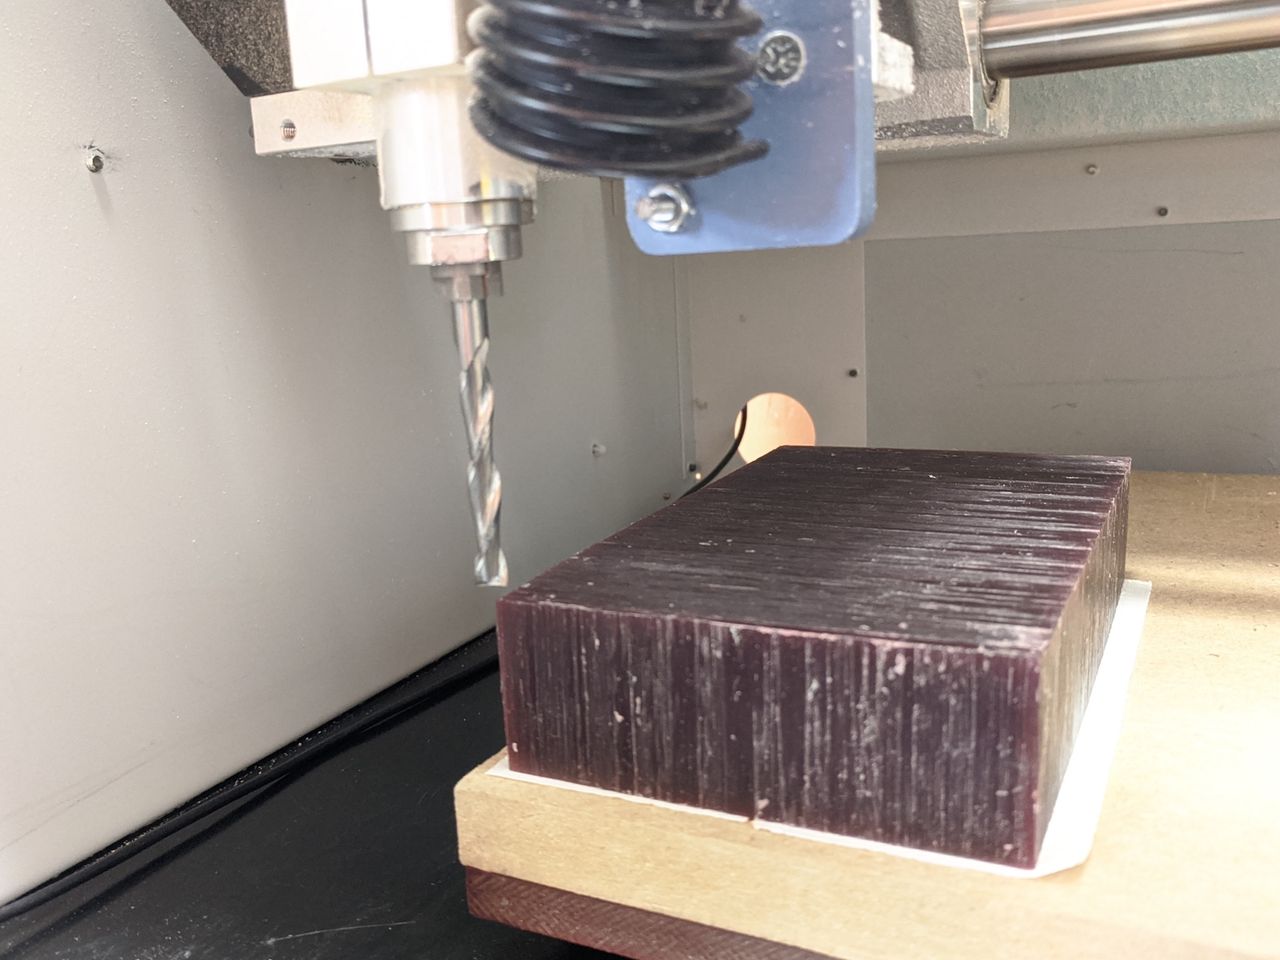
Calibrating the Roland mill's XY position to the corner of the wax blank.
We use carving (jeweler's) wax, which machines well and the chips can be collected and recycled by melting them down to make new blanks.
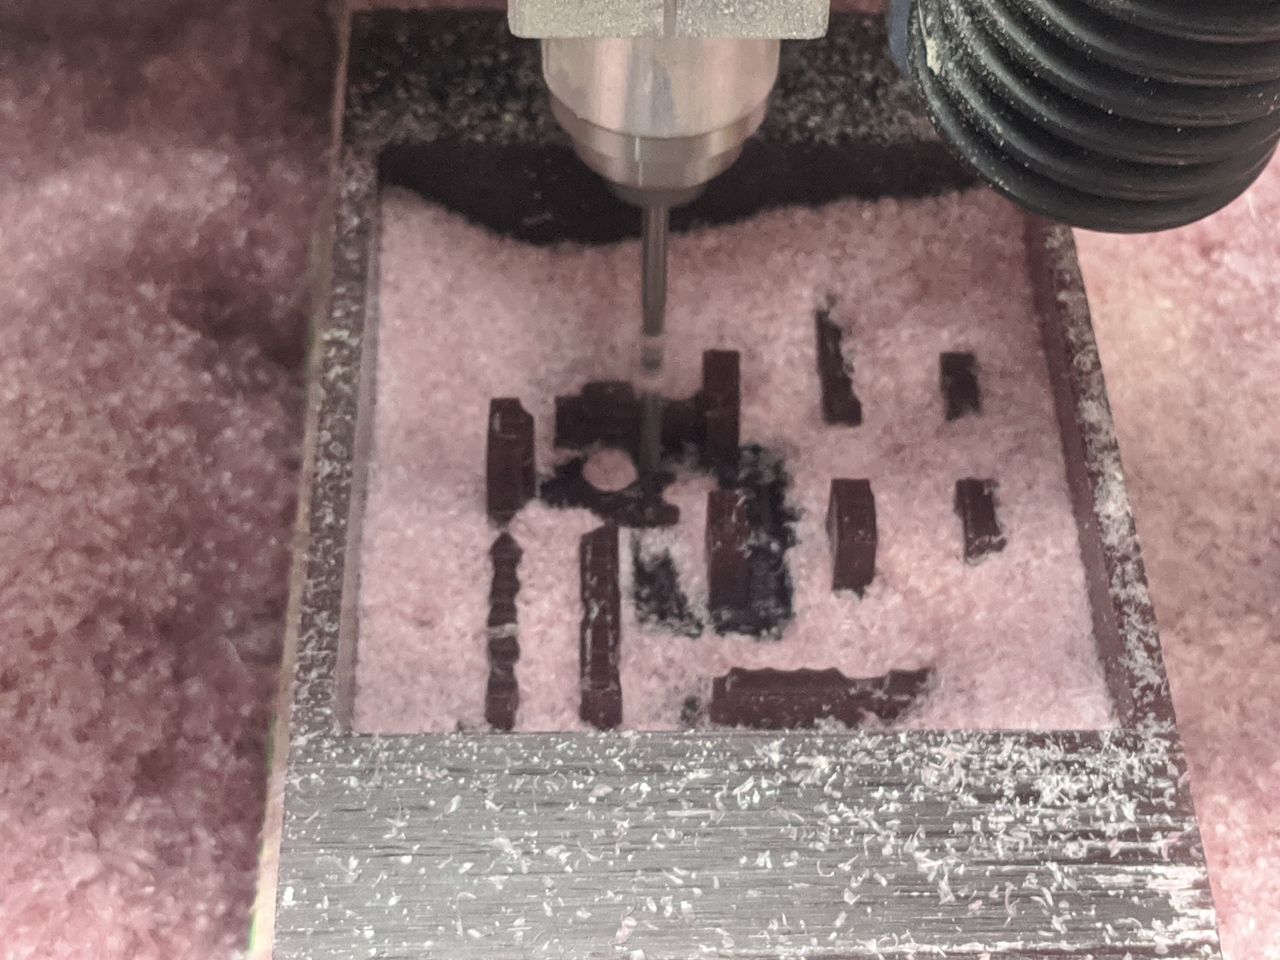
After the 6mm tool's roughing pass, we did one finishing pass with the 3mm tool. Each pass took 2 hours, so I'm glad that the milling process succeeded.
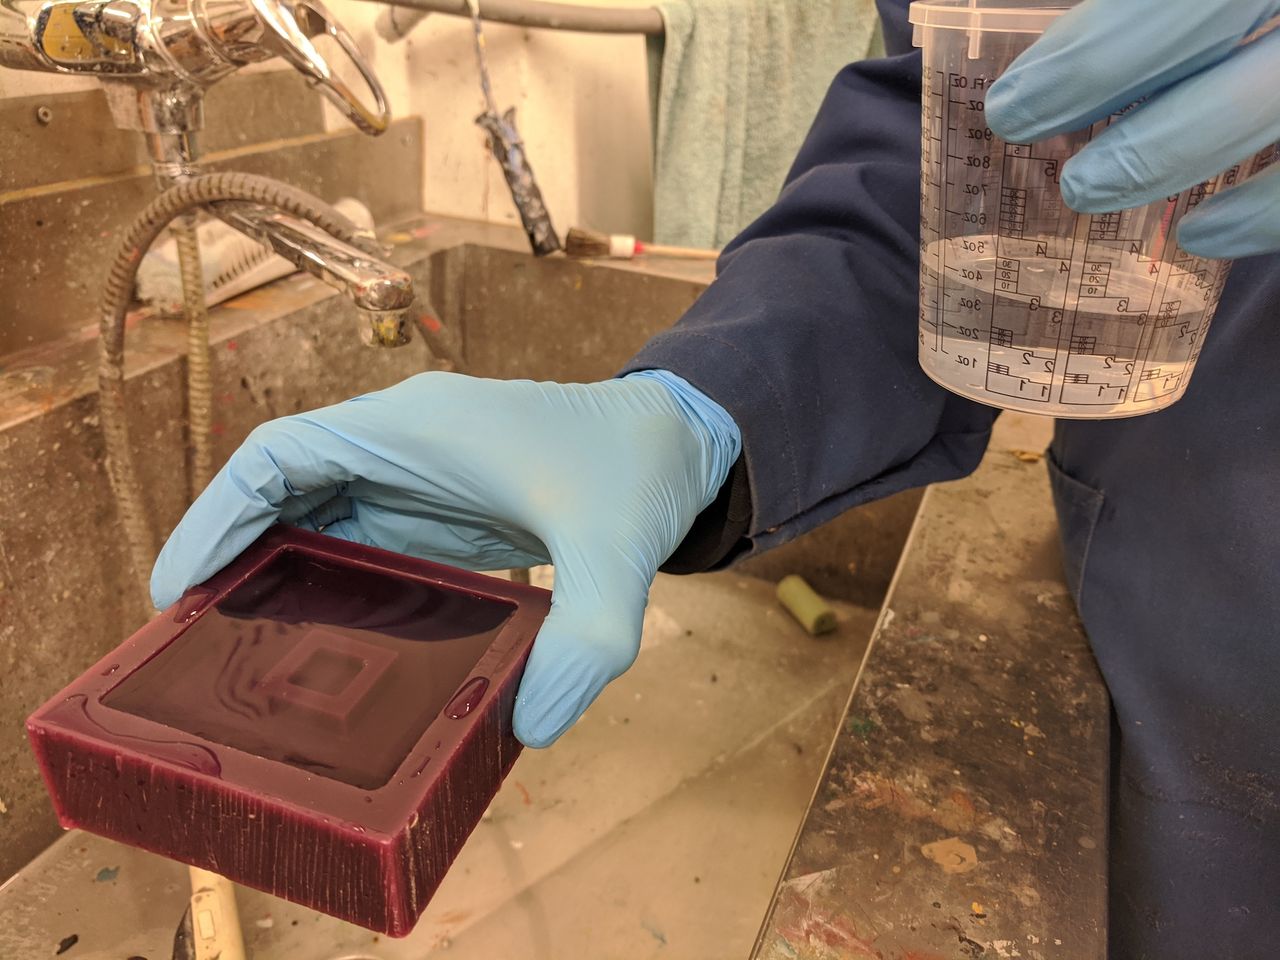
By filling the negative space of the mold with water, we can measure how much silicone we'll need.
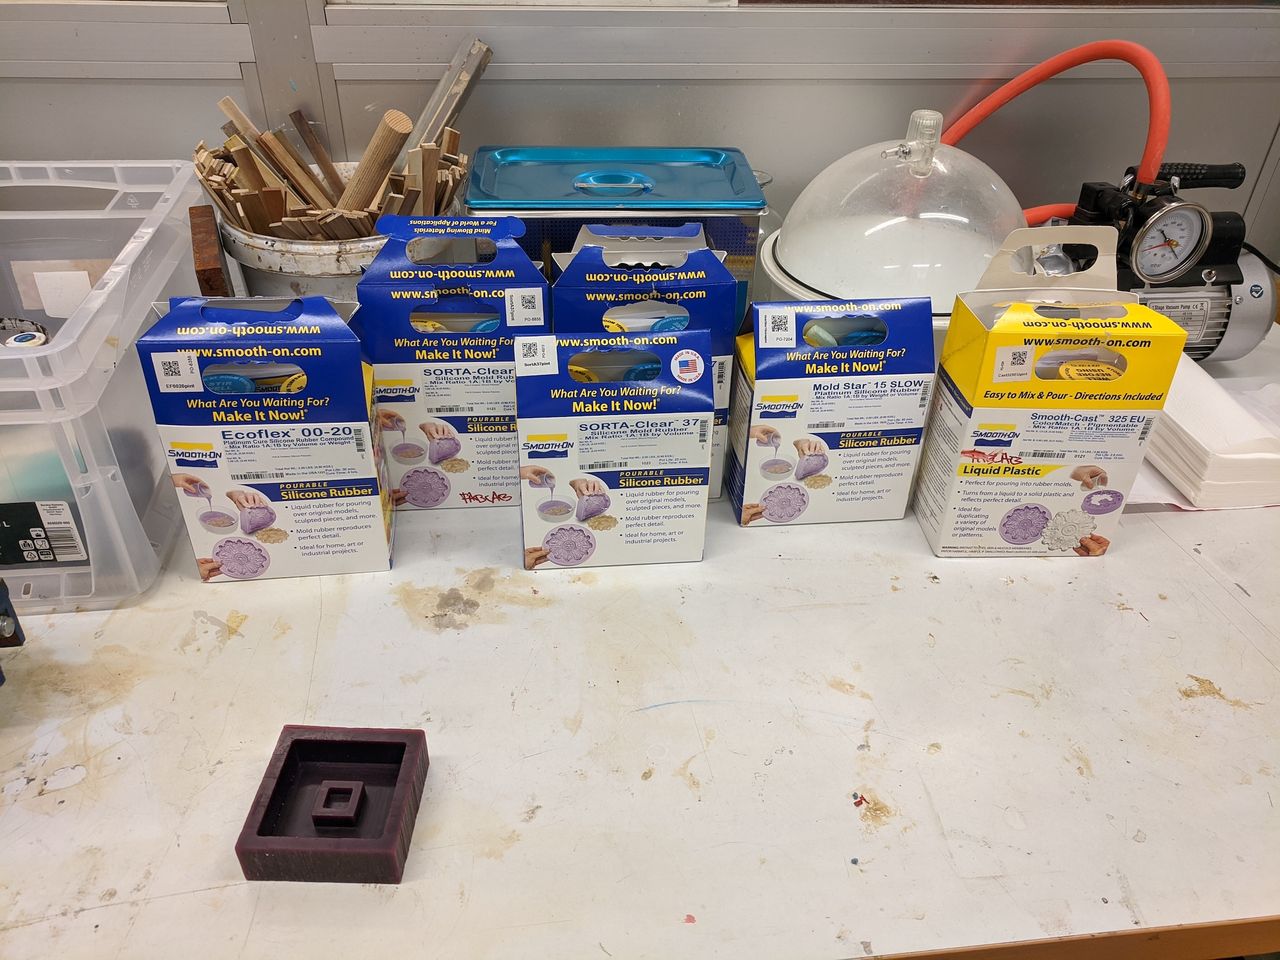
Wooden stirring sticks, vacuum chamber, and Smooth-On molding and casting supplies in the molding and casting room at Aalto Studios.
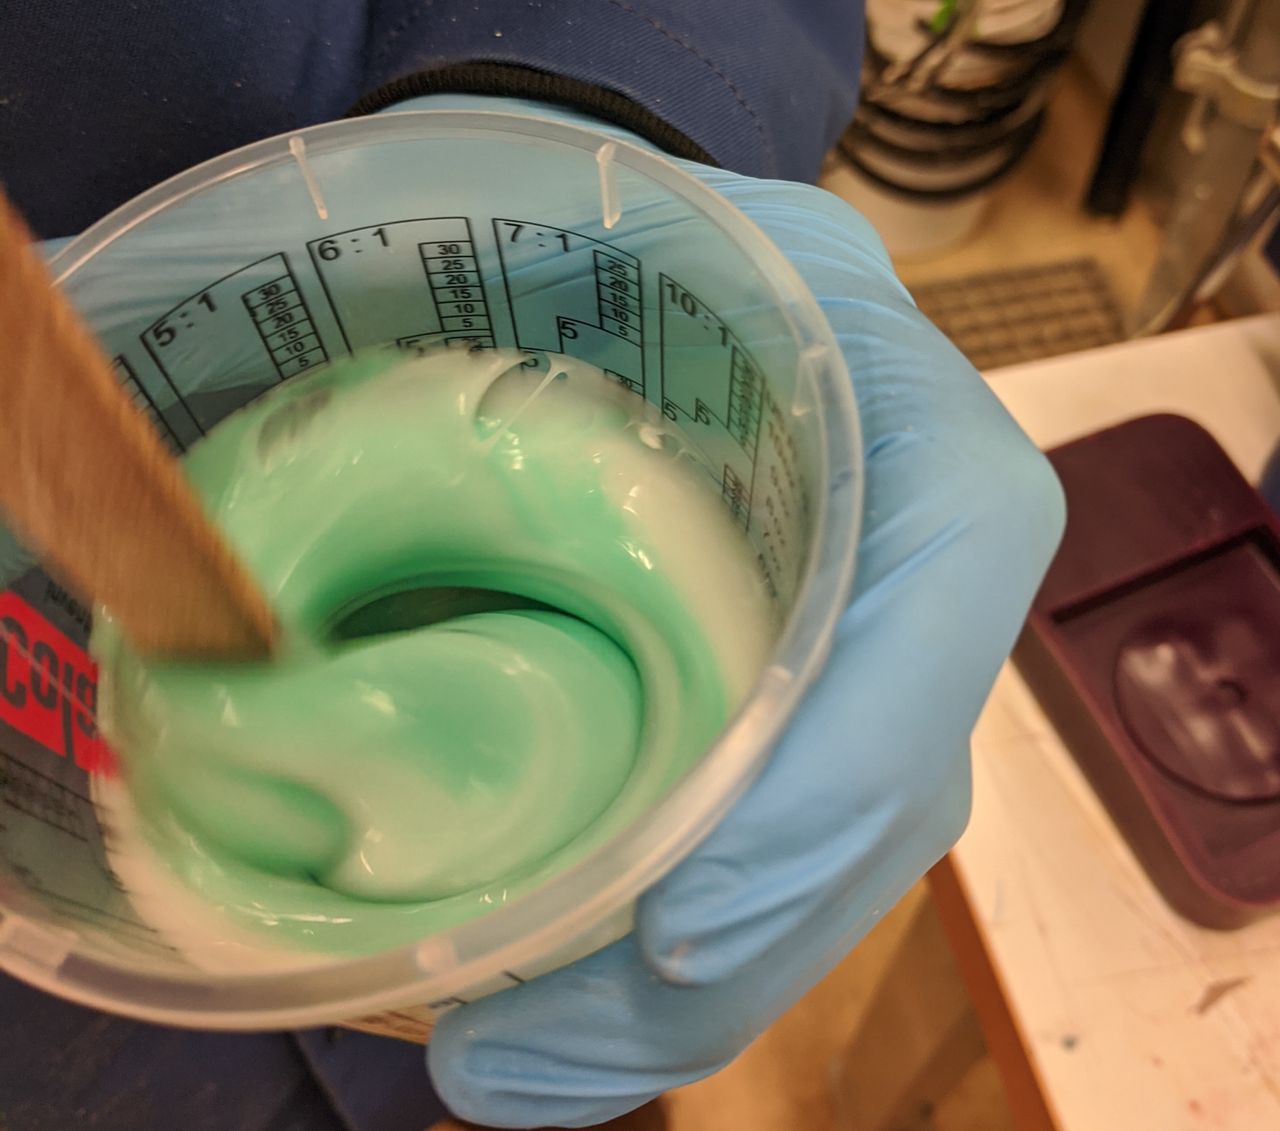
- Mix each of the 2 parts in their own jar for 2 minutes, using different sticks. Be sure to scrape sides and bottom.
- Combine the two parts in the measuring cup, using 50% of the volume that we measured with water of each. Plus a little bit to account for what will be lost on the stick and sides of container.
- Mix the 2 parts together with a new stick for 2 minutes, scraping sides and bottom.
- Put the cup in the vacuum chamber and pull a vacuum until the mixture starts to bubble out. When it looks like it will overflow, slowly release the valve until the level goes down in the cup. Repeat until the bubbling is done.
- Pour into the mold with a thin, steady stream. This prevents the flow from trapping bubbles.
- Tap the table to encourage any bubbles to come to the surface.
The blob! Video is sped up 4x.
At this point it was the end of the day. I debated bringing the mold home with me on the metro, but decided to let it cure at the Fablab.
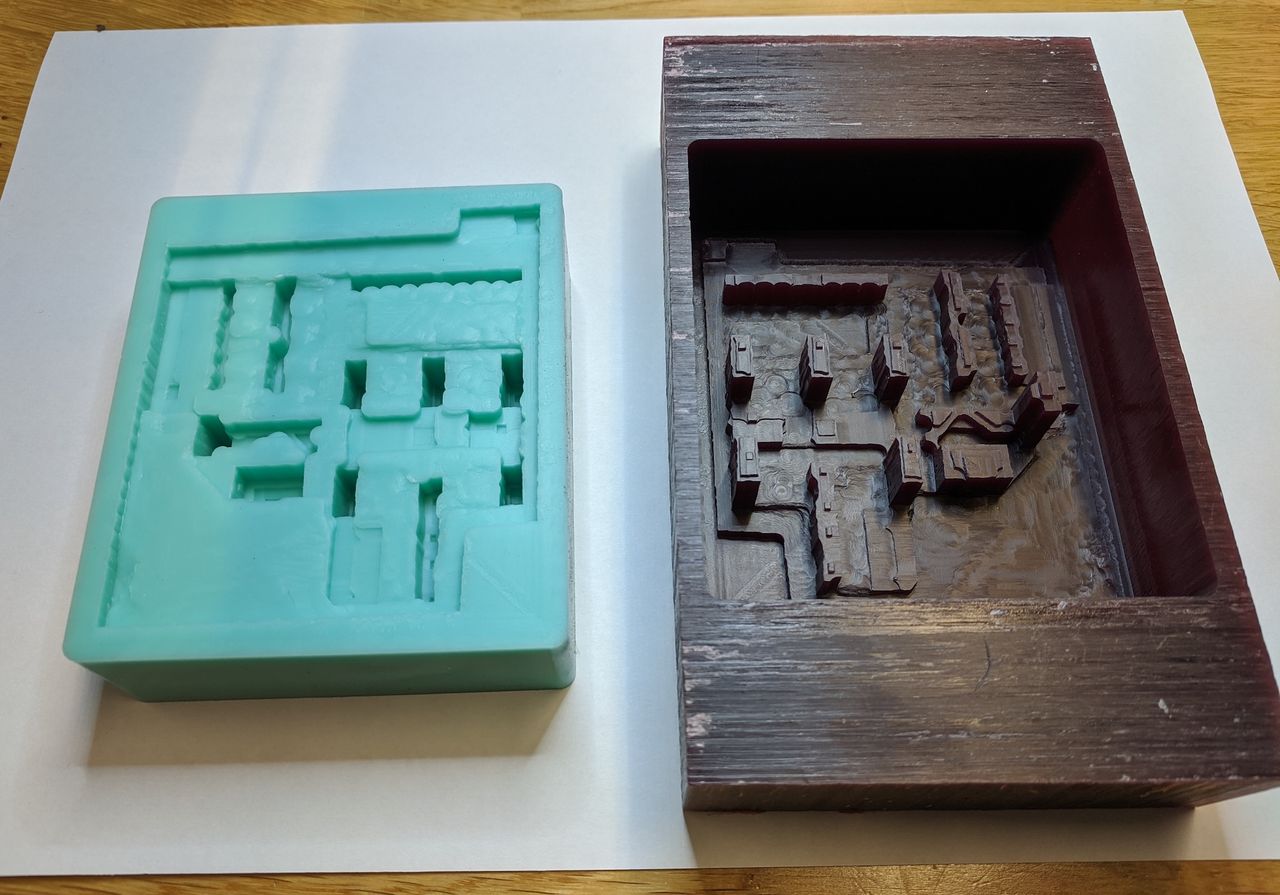
The next day, it looked and felt like a success. I pulled the edge of the silicone a little bit, and blew compressed air in to encourage it out. I was a little worried that the thin buildings might break while removing the casting, but it came out without issue.
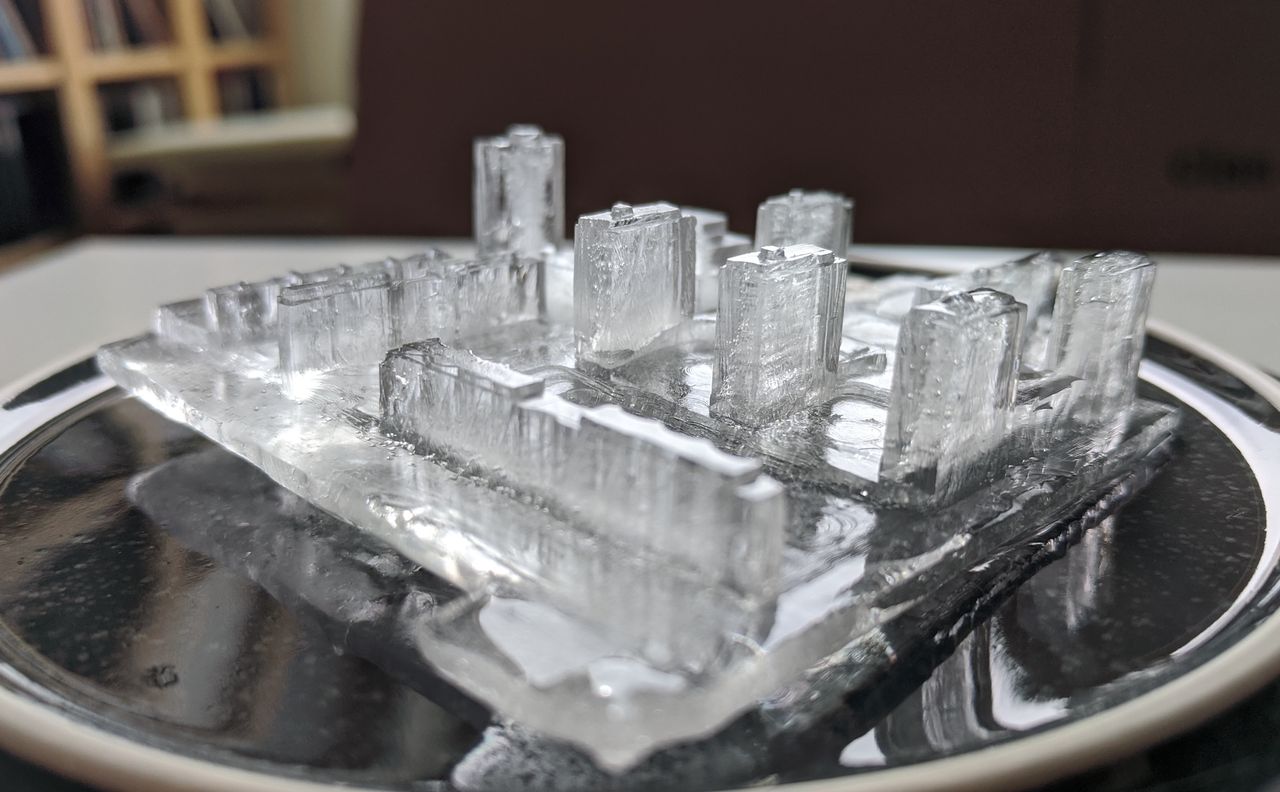
Mold Star™ 15 SLOW is not food safe, so I will not eat the ice neighborhood.
Video is sped up 120x.
Files
- mh.stl.zip – 3d data that was used for both the print and mold. I would do some cleanup work before 3d printing it again.
Reference
- 3D data for Helsinki
- Roland Modela MDX-40 – Aalto Fablab wiki
- ← Previous
Week 13. Midterm Plan - Next →
Week 15. Interface and Application Programming